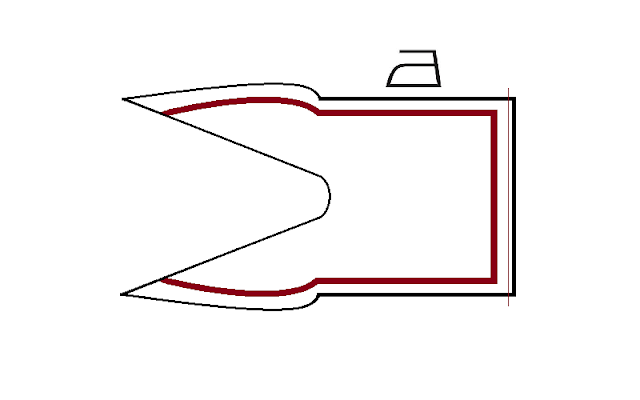
Haruhi's sailor collar goes past the bust, so you will have to extend the "ears". Simply measure from your neck-shoulder line to where you want your collar to end. Mine are 14" long.
Materials:
ღ Fabric (E.g. twill)
ღ Bias / grosgrain ribbon / (...)
ღ Sewing Machine
ღ Ruler + Chalk + Scissors
Measurements:
ღ Collar lenght (from shoulders to waist)
Instructions:
Cut your fabric (48" x 38"), fold in half and cut on the fold . You should have a rectangle that measures 24" x 18".

Draw a vertical line marking the center of your fabric. Measure 2" 1/2 from the center of this line and draw a diagonal to 1" 1/2 from both ends of the rectangle.
Sew both pieces wrong sides together (the ribbon will be inside). Leave the bottom of the collar open to be able to turn it inside out in the next step.
Snip ends carefully to make turning inside out easier. Please read Solai's tutorial as she has very clear photographs showing where and what shape to cut.
Turn your collar inside out, and press. Fold the bottom in slightly and stich in place. I like to topstich the edges around after pressing so the collar looks neat.
Voilá! You now have a lovely Sailor Collar. To attach to your top simply stich some clasps (E.g. shoulders, tip of the ears).
.png)
You can easily modify the lenghts/curves of the "ears" to adapt this collar to practically any cosplay school uniform. For example, for my Erio Touwa uniform I shortened the "ears" and curved them more gently. The possibilities are endless.
Hope this tutorial was helpful!


.png)
.png)
.png)
.png)
.png)
.png)

No comments:
Post a Comment